Introduction to React JS

React JS is an open-source JavaScript library used to build user interfaces. It was developed by Facebook.

1.1 Why React JS?

  • Performant websites
  • Fewer lines of code
  • Improves readability of code
  • Less time consuming
  • Open Source
  • Reusable code

1.2 Advantages of React JS

  • Easy to Learn
  • Large Community
  • Developer Toolset

2. Running JavaScript in HTML

We can run JavaScript in HTML using the HTML

script
element. It is used to include JavaScript in HTML.

<body>
<div id="root"></div>
<script type="text/javascript">
const rootElement = document.getElementById("root");
const element = document.createElement("h1");
element.textContent = "Hello World!";
element.classList.add("greeting");
rootElement.appendChild(element);
</script>
</body>
HTML

Here the

type
attribute specifies the type of the script.

To include an external JavaScript file, we can use the HTML

script
element with the attribute
src
. The
src
attribute specifies the path of an external JS file.

<script type="text/javascript" src="PATH_TO_JS_FILE.js"></script>
HTML
Note

When the browser comes across a

script
element while loading the HTML, it must wait for the script to download, execute it, and only then can it process the rest of the page.

So, we need to put a

script
element at the bottom of the page. Then the browser can see elements above it and doesn’t block the page content from showing.

If more than one

script
elements are in the HTML, the
script
elements will be executed in the order they appear.

3. Creating Elements using React JS

3.1 React CDN

<script src="https://unpkg.com/react@17.0.0/umd/react.development.js"></script>
<script src="https://unpkg.com/react-dom@17.0.0/umd/react-dom.development.js"></script>
<script src="https://unpkg.com/@babel/standalone@7.12.4/babel.js"></script>
HTML

3.2 React.createElement()

The

React.createElement()
method is used to create an element using React JS. It is similar to the
document.createElement()
method in regular JavaScript.

Syntax:

React.createElement(type, props);

type - Tag names like

div
,
h1
and
p
, etc. props - Properties like
className
,
onClick
and
id
, etc.

Props are shorthand for properties. It is an optional argument.

<script type="module">
const elementProps = { className: "greeting", children: "Hello world!" };
const elementType = "h1";
const element = React.createElement(elementType, elementProps);
</script>
HTML
Note
The 
type
 attribute value of the HTML 
script
 element should be 
module
 to run React JS.

3.3 ReactDOM.render()

The

ReactDOM.render()
method is used to display the React element.

Syntax:

ReactDOM.render(reactElement, container);

reactElement - What to render container - Where to render

<body>
<div id="root"></div>
<script type="module">
const elementProps = { className: "greeting", children: "Hello world!" };
const elementType = "h1";
const element = React.createElement(elementType, elementProps);
ReactDOM.render(element, document.getElementById("root"));
</script>
</body>
HTML

4. JSX

React JS introduced a new HTML like syntax named JSX to create elements.

const element = <h1 className="greeting">Hello World</h1>;
JSX

The above JSX element compiles to,

const elementProps = { className: "greeting", children: "Hello world!" };
const element = React.createElement("h1", elementProps);
JAVASCRIPT
Warning
In JSX, HTML tags always need to be closed. For example, 
<br />
<img />
.

4.1 Babel

JSX is not JavaScript. We have to convert it to JavaScript using a code compiler. Babel is one such tool.

It is a JavaScript compiler that translates JSX into regular JavaScript.

<script type="text/babel">
const elementProps = { className: "greeting", children: "Hello world!" };
const element = React.createElement("h1", elementProps);
const element = <h1 className="greeting">Hello World</h1>;
ReactDOM.render(element, document.getElementById("root"));
</script>
HTML
Note
  • For JSX, the 
    type
     attribute value of the HTML 
    script
     element should be 
    text/babel
    .
  • For providing class names in JSX, the attribute name should be 
    className
    .

Differences between HTML and JSX:

HTMLJSX
classclassName
forhtmlFor

4.2 Embedding Variables and Expressions in JSX

We can embed the variables and expressions using the flower brackets

{}
.

Embedding variables in JSX:

<body>
<div id="root"></div>
<script type="text/babel">
const name = "Rahul";
const className = "greeting";
const element = <h1 className="greeting">Hello World</h1>;
const element = <h1 className={className}>Hello {name}!</h1>;
ReactDOM.render(element, document.getElementById("root"));
</script>
</body>
HTML

Embedding Expressions in JSX:

<body>
<div id="root"></div>
<script type="text/babel">
const fullName = (user) => user.firstName + " " + user.lastName;
const user = { firstName: "Rahul ", lastName: "Attuluri" };
const element = <h1 className="greeting"> Hello, {fullName(user)}!</h1>;
ReactDOM.render(element, document.getElementById("root"));
</script>
</body>
HTML

4.3 Nesting JSX elements

The

ReactDOM.render()
method returns only one element in render. So, we need to wrap the element in parenthesis when writing the nested elements.

<body>
<script type="text/babel">
const element = (
<div>
<h1 className="greeting">Hello!</h1>
<p>Good to see you here.</p>
</div>
);
ReactDOM.render(element, document.getElementById("root"));
</script>
</body>
HTML
Collapse
Coding Practice 1


Super Over League

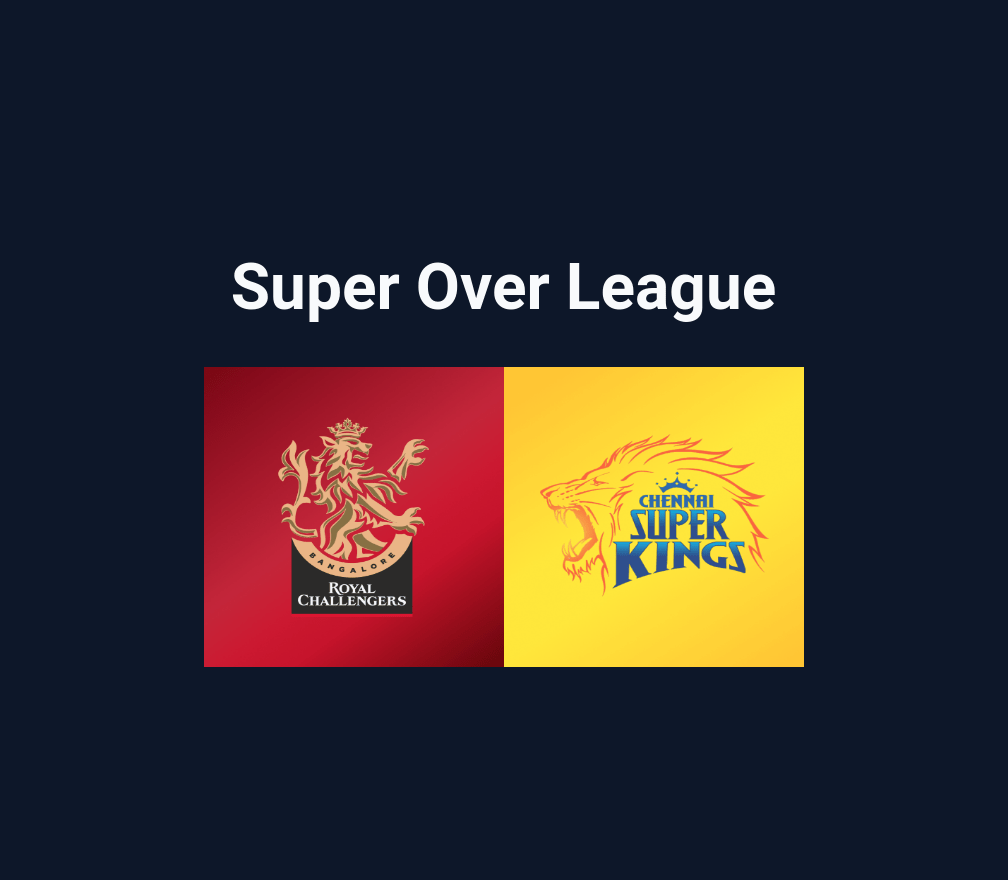
In this project, let's build a Super Over League by applying the concepts we have learned till now.

Refer to the image below:


supe-over-league-output

Design Files

Click to view

Completion Instructions

Implementation Files

Use these files to complete the implementation:

  • index.js
  • index.css

Resources

Image URLs
Colors
Hex: #0f172a
Hex: #f8fafc
Font-families
  • Roboto

Things to Keep in Mind

  • Do not remove the pre-filled code
  • Want to quickly review some of the concepts you’ve been learning? Take a look at the Cheat Sheets.


Congrats Card

In this project, let's build a Congrats Card by applying the concepts we have learned till now.

Refer to the image below:


congrats-card-output

Design Files

Click to view

Completion Instructions

Implementation Files

Use these files to complete the implementation:

  • index.js
  • index.css

Resources

Image URLs
Colors
Hex: #0f172a
Hex: #cffafe
Hex: #1e293b
Font-families
  • Roboto

Things to Keep in Mind

  • Do not remove the pre-filled code
  • Want to quickly review some of the concepts you’ve been learning? Take a look at the Cheat Sheets.


Next 000000000

Post a Comment

Please Select Embedded Mode To Show The Comment System.*

Previous Post Next Post

Contact Form